How to Make a Quilter's Knot
The quilter's knot is the easiest way to form a small, strong, and discreet knot at the end of your thread. Although simple, this sewing technique ensures your threads stay secure without adding unnecessary bulk.
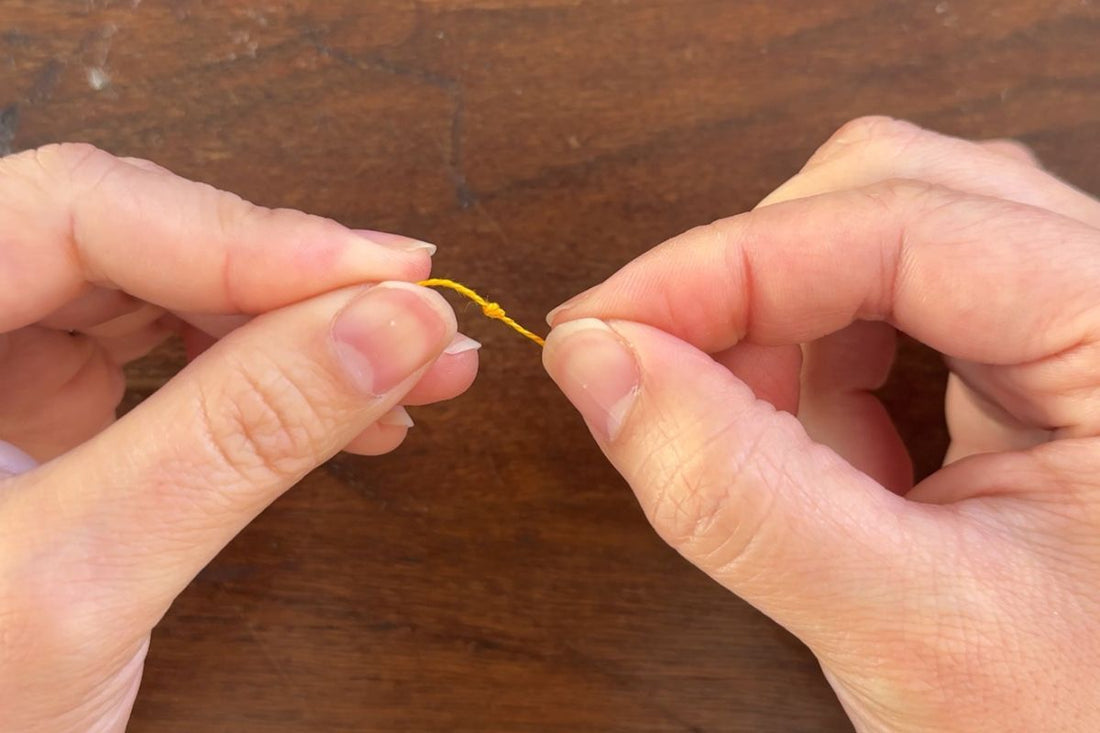
Click the image below for a quick tutorial on how to make the quilter's knot, or continue reading.

When to Use a Quilter's Knot
The beauty of the quilter's knot is that you can use it when starting or finishing a thread. It's useful for all types of sewing, from mending and embroidery to applique and--of course--quilting.
Tips for Mastering the Quilter's Knot
There aren't many do's and don'ts with this simple technique, but we do have a few tips to help you master it:
-
Keep the knot small: Large knots will create visible bumps on top of your fabric. Wrapping the thread 2-3 times around the needle is sufficient, depending on the thickness of your thread.
-
Wrapped thread should form a tight coil: When wrapping the thread around the needle, be sure the coils sit snugly against each other. If not, you may end up with thread tangles and a messy knot (or no knot at all!).
-
Pinch the wrapped thread snugly: Sewists sometimes unwittingly loosen their grasp of the wrapped thread while pulling the needle away. This will lead to tangled thread and knots. Be sure to grasp the tightly coiled thread snugly between your thumb and index finger, and maintain that tight pinch until you feel a knot form between your fingers.
- Practice! In the beginning, the quilter's knot can seem unwieldy, but you will quickly get a feel for it with repeated tries. Once you've mastered this technique, you will marvel at its simplicity.
Want more sewing tips? Check out our other tutorials on quilting techniques and subscribe to our newsletter for the latest updates!