How to Sew a Running Stitch
The running stitch is one of the simplest and most useful hand-sewing stitches. It is a great choice when basting, gathering fabric for ruffles or pleats, mending, hand-quilting, and even decorative stitching.
Tips for a Clean Running Stitch:
- Keep your stitches even for a neat look
- Use a sharp needle that glides easily through fabric
- Adjust stitch length depending on the project—shorter for durability, longer for basting
- Knot your thread securely at the end to prevent unraveling
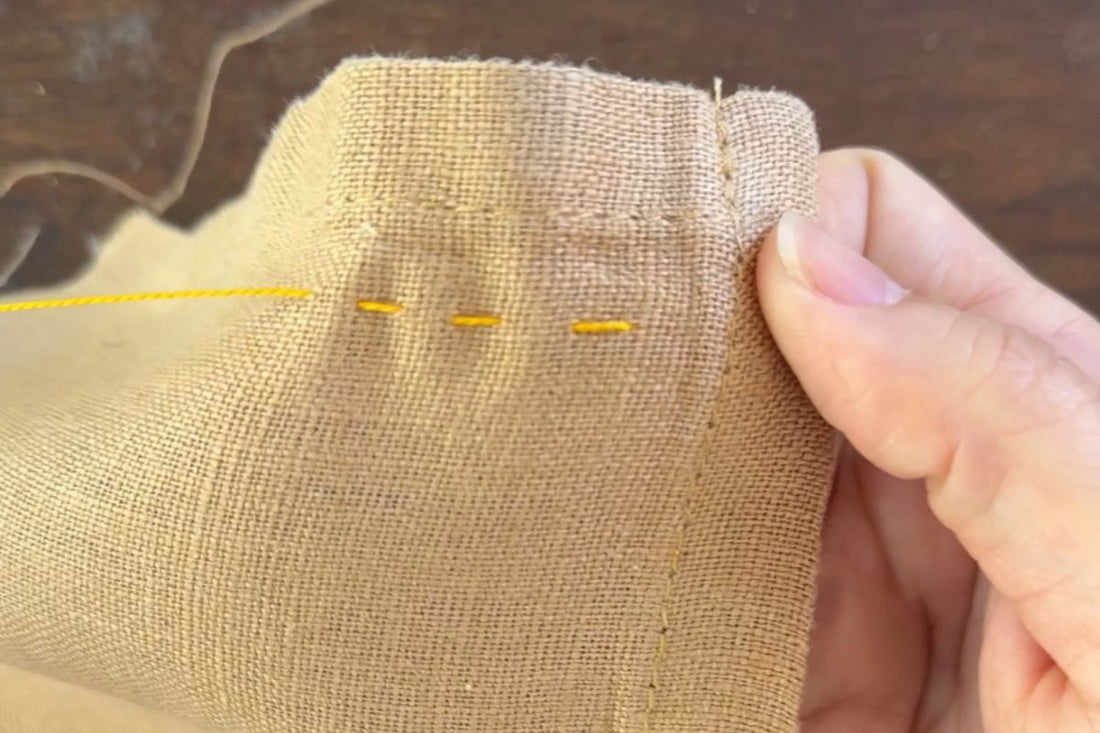
How to Sew a Running Stitch:
Click the image below for a quick 30-second video tutorial to see the stitch in action!

And here are written step-by-step instructions on how to sew the running stitch:
- Step 1: Thread your needle with a single or double strand of thread. Make a knot at the end.
- Step 2: Insert the needle into the backside of the fabric and pull it through until you reach the knot, which will anchor your stitch to the fabric.
- Step 3: Next, insert your needle into the frontside of the fabric one stitch length away. You can determine the desired length of the stitch. About 1/4 inch is a good starting point.
- Step 4: Push the needle through to the backside, but instead of pulling the needle all the way through, pivot and insert the needle tip into the backside one stitch length away. You are essentially creating a "rocking" motion, moving your needle up and down through the fabric while moving in a horizontal direction.
- Step 5: Repeat Steps 3 and 4 until you have loaded several stitches onto your needle. Then hold the pointed end of your needle and pull it all the way through the fabric, revealing a neat row of running stitches.