How to Print and Assemble a PDF Sewing Pattern
More often than not, sewing patterns these days come in a PDF format. And while PDF sewing patterns can be intimidating at first, after one try, you quickly realize how straightforward they are. Scroll to the bottom for both a video and written tutorial on how to print and assemble PDF sewing patterns!
What are the benefits of a PDF sewing pattern?
-
Affordability: PDF patterns are cheaper than printed patterns.
-
Instant Download: No need to wait for shipping. A PDF means immediate access.
-
Versatile Printing: Most PDF sewing patterns will give you two formats - one for printing on your home printer and another for printing large format at your local copy shop. You get to choose!
-
Multiple Prints: Instead of handling one delicate paper pattern, you can print PDF patterns as many times as you wish! This is helpful if, say, you want to print a different size or you damage or lose your pattern copy and need to print another
-
Size Choice: Some PDF sewing patterns use layers which you can turn off and on so that you're able to print just your size (and no other). This feature makes it much simpler to cut out or trace your pattern after assembly
- Space Saving: You save on precious storage space by storing PDF patterns on your computer.
What are the downsides of a PDF sewing pattern?
- PDF patterns require you to have access to a printer or copy shop.
- The cost of printer paper and ink can add up when you're printing large patterns.
- It can time-consuming to cut and assemble multiple pattern pages.
- Although PDF patterns are minimally technical, they do require that you get the scaling exactly right.
Video Tutorial
Click the image below to watch a short tutorial, or scroll to the bottom for written steps.

Step by Step Instructions
Step 1: Once you've downloaded your PDF pattern, open it in a program like Adobe Acrobat or Preview.
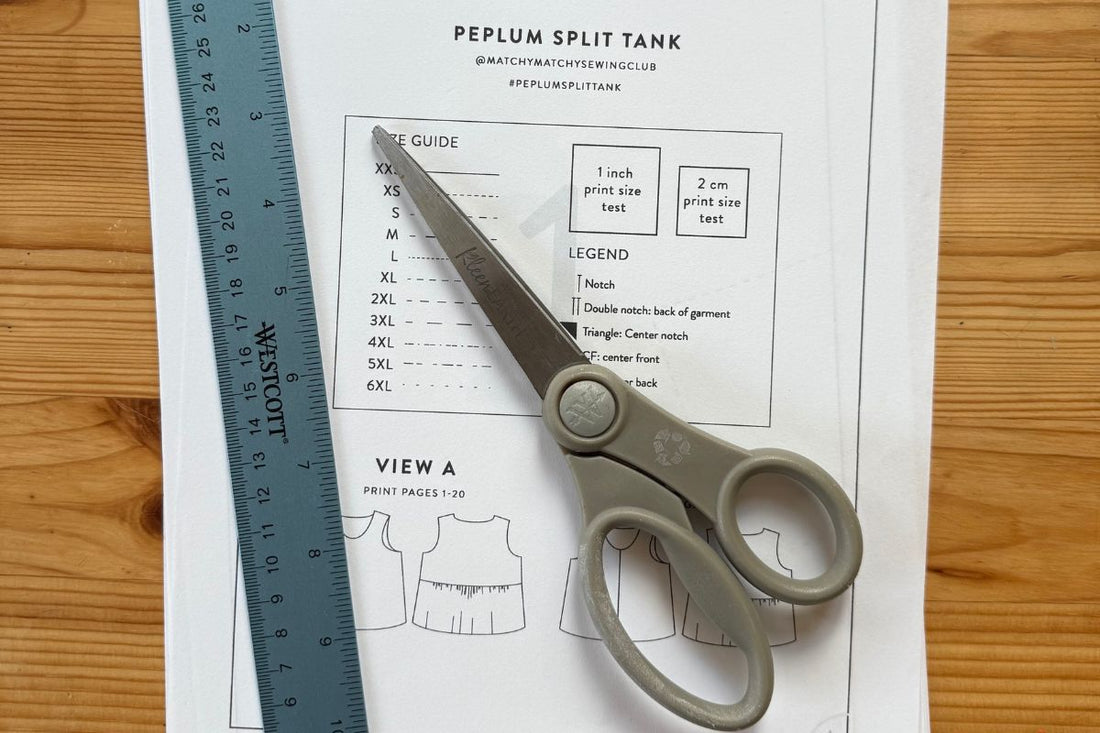
Step 2: Before you print your entire pattern, you need to make sure you're printing at the correct scale. PDF patterns usually have a test square on the first page for this purpose.
-
Click File > Print.
- If your PDF is for US Letter, make sure your printer is set to print for US Letter.
- Select to print only the first page.
- The crucial step--turn scaling OFF. You can do this by selecting Actual Size, turning scaling OFF, or printing at 100% scale. You do NOT want to select anything with words like "Fit" or "Shrink."
- Click Print.

Step 3: Take a ruler and measure the test square on the first page you just printed. If the square reads "one inch," for example, make sure it measures one inch. If the measurement is inaccurate, go back and check your printer settings to double check that there is no scaling being applied.

Step 4: Once your square is the correct size, print the rest of your pattern. Optional: Before printing, check to see if your pattern has layers. If it does, you can choose to turn off all the layers except the size you want to print. This makes it easier to cut out or trace your pattern later.

Step 5: After you have printed your pattern, you want to cut off two adjacent sides of each pattern page. Here, we have cut off the right and bottom sides.

Step 6: Next, use a glue stick or tape to join the pattern pages by matching the markings shown on the borders of each pattern page. In the example shown, the markings are quarter-circles with letters. Start by joining pages 1 and 2, then join page 3, and so on. Note: After you reach the end of Row 1, you can begin attaching the Row 2 pieces directly to Row 1. Alternatively, you can complete each row separately and wait to the end to connect the rows together.


Step 7: The final step is to cut out your pattern pieces. (Note: Check to see whether seam allowance is included. If it is not, you will need to add it before cutting out your pieces.) You can cut out your pattern pieces in two ways:
- Cut out your pattern pieces directly from your assembled pages.
- Trace out each pattern piece using tracing paper (such as Swedish Tracing Paper). Tracing your pattern is helpful if, say, your pattern has multiple sizes and you think you may want to use the pattern in a different size some day.
That's it! You are done and ready to start sewing!